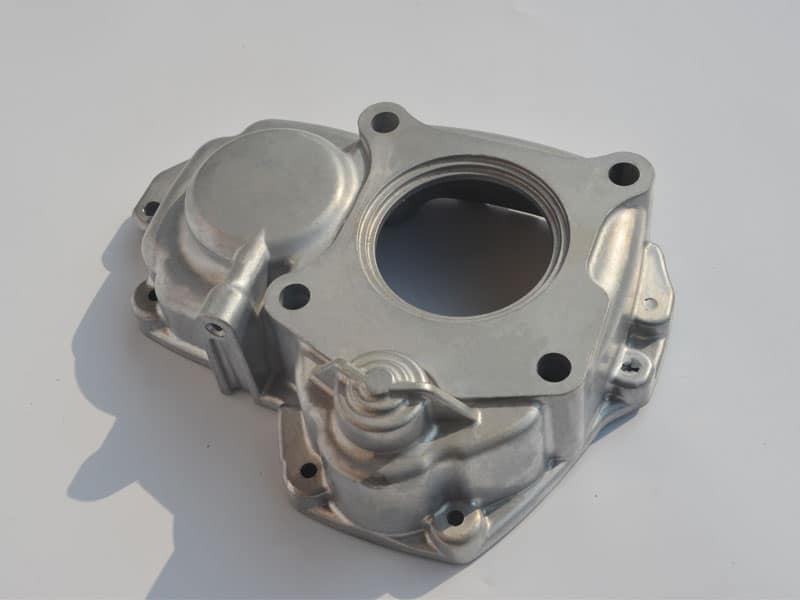
Since the surface roughness of aluminum die castings is determined by the characteristics of the die casting process, it is generally not necessary to measure the surface roughness of die castings in production, only to identify the surface roughness of the mold cavity. Make appropriate measurements.
Aluminum die casting parts have precise dimensions and a good casting surface, and generally do not need to be machined. At the same time, due to the existence of internal pores in aluminum alloy die-casting, mechanical processing should be avoided as much as possible. However, after all, the die-casting parts can not be directly assembled and used in any occasion. Therefore, in some cases, some surfaces and parts need to be machined. These situations are as follows:
(1) Remove the draft slope to meet the assembly requirements of this surface and this part.
(2) Need to achieve higher precision dimensions.
(3) Some shapes of castings that are not die-cast.
(4) Remove gates or excess parts added due to process requirements.
(5) The surface or shape of the casting does not meet the requirements due to wear or loss of the formed parts of the mold (in the production of complex or large die castings, in this case, it is difficult to repair the mold, so it is necessary to repair the die castings machining to eliminate).
Among them, mainly the first three reasons. When the dimensional accuracy and geometric tolerance of aluminum die casting parts cannot meet the design requirements and need to be machined, priority should be given to using precision castings.
Finishing processing, such as correction, drawing, calendering, shaping, etc., in order to retain its high-strength dense layer (the surface layer of the die-casting is formed due to chilling). Then consider the use of cutting processing, and choose a smaller machining allowance
The machining allowance of aluminum alloy is taken from the die casting, and the average value of the two allowances of the maximum outer contour size and the basic size should be taken. For example, the maximum outer contour size of a die casting is 200mm, and the basic size of the surface to be processed is 100mm, then the machining allowance is (0.5mm+0.7mm)/2=0.6mm.
When the machining allowance is affected by the draft angle, generally the inner surface size is based on the large end, while the outer surface size is based on the small end. Unless otherwise specified, the required machining allowance applies to the entire rough die casting, that is, only one value is specified for all surfaces to be machined, and this value should be based on the maximum contour size of the finished die casting after final machining, and according to Select the corresponding size range.

