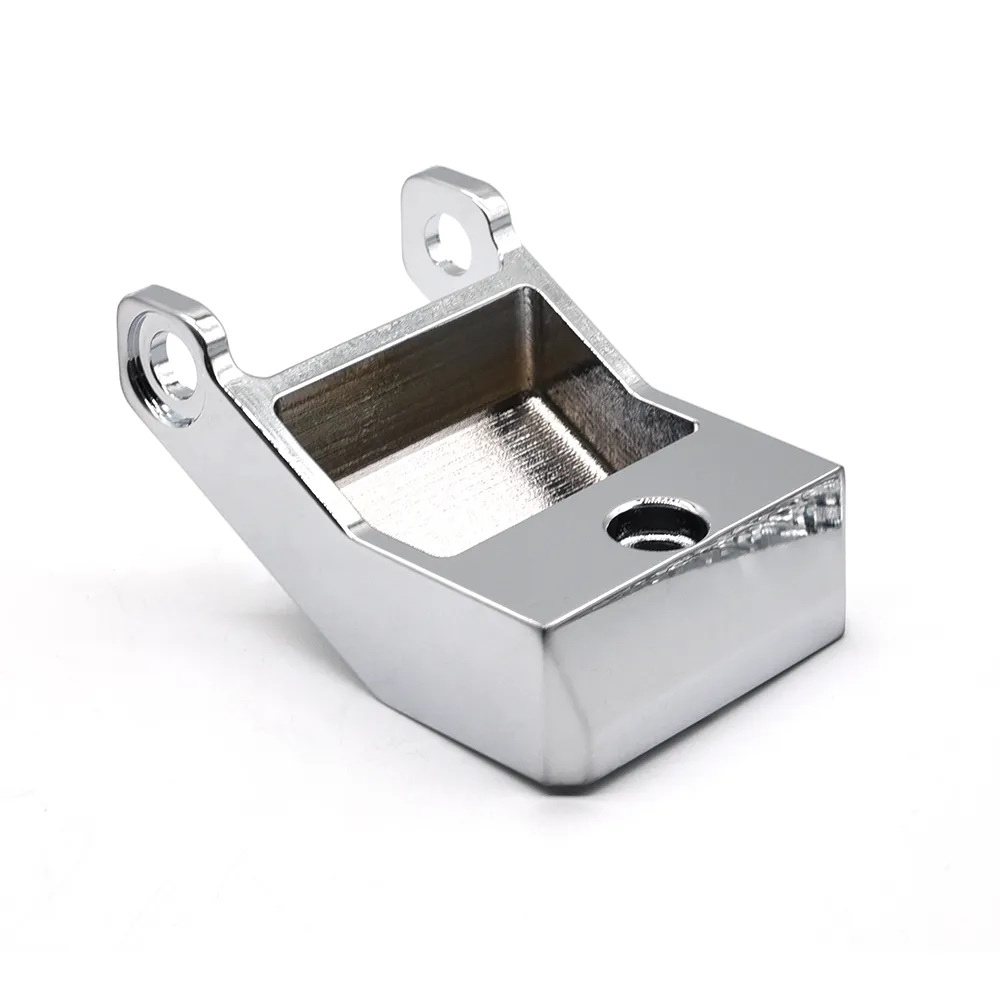
Accuracy levels of different CNC machining processes| CNC turning surface roughness
CNC machining accuracy can reflect the machining effect of the workpiece, and is a professional term to evaluate the geometric parameters of the machined parts and measure the performance of CNC machining center. CNC turning, milling, planing, grinding, drilling and boring, what accuracy level should they achieve?
What accuracy level should be achieved by different CNC machining processes?
The CNC machining accuracy is related to the surface roughness. If the surface roughness is too large, it is difficult to measure the dimensions accurately and precisely, and it is impossible to ensure the dimensional accuracy.
1.CNC turning
CNC turning is a computer numerical control machining process in which the workpiece is rotated and the turning tool makes linear or curved movements in the plane to machine the internal and external cylindrical surfaces, end faces, conical surfaces, forming surfaces and threads.
– The general CNC turning surface roughness is 1.6-0.8 μ M.
– Rough turning: use large depth of cut and large feed to improve efficiency without reducing the cutting speed, and the surface roughness requirement is 20-10 μm.
– Semi-finish turning and finish turning: use small cutting speed and high feed, surface roughness requirement is 10-0.16 μ M.
– For high-precision CNC lathe: fine grinding diamond turning tool can be high-speed precision turning of non-ferrous metal workpiece, surface roughness of 0.04-0.01μm, also known as “mirror turning”.
2. Boring
Boring is a boring tool to enlarge the hole or other existing round contour of the internal cutting technology. The tool used is usually a single-edge boring tool (boring bar). It is suitable for machining from semi-rough to finish.
– Steel can be bored to an accuracy of 2.5-0.16 μ M.
– Fine boring accuracy up to 0.63-0.08 μ M.
3. Milling
CNC milling is the process of machining stationary workpieces with rotating multi-point tools on a computer-controlled machine tool and is suitable for machining grooves, flats, gears and special features.
– The general surface roughness of milling is 6.3-1.6 μ M.
– Rough milling accuracy: 20-5 μ M.
– Semi-finish milling: 10-2.5 μ M.
– Precision milling: 6-0.63 μ M.
4. Grinding
Grinding is an abrasive machining process that uses a grinding wheel to cut off excess material from a workpiece and is widely used in the machinery manufacturing industry, usually for semi-finishing and finishing, where finishing and precision cutting can be achieved. Grinding can be controlled to move around a fixed workpiece.
– The surface roughness of grinding is generally 1.25-0.16 μ M.
– Precision grinding has a surface roughness of 0.16-0.04 μ M.
– Surface roughness of ultra-precision grinding is 0.04-0.01 μ M.
– The surface roughness of mirror grinding is less than 0.01 μ M.

