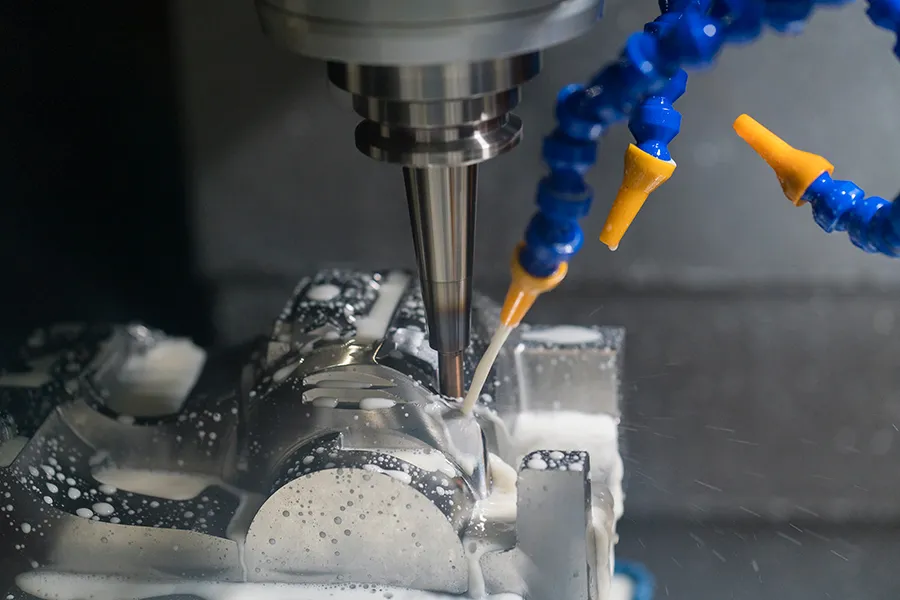
For CNC machining center quality assurance, in addition to rich processing experience and knowledge of the mold,you should comunicate with partners timely and effectively.
First, CNC processing process
(1) Read the drawings and program list
(2) Transfer the corresponding program to the machine tool
(3) Check the program head, cutting parameters, etc
(4) On the workpiece process processing size, allowance determination
(5) Reasonable clamping of the workpiece
(6) accurate alignment of the workpiece
(7) Accurate establishment of workpiece coordinates
(8) Reasonable selection of cutting tools and cutting parameters
(9) Proper clamping tools
(10) Safe test cutting method
(11) Observation of machining process
(12) Adjustment of cutting parameters
(13) Timely feedback of problems and corresponding personnel during processing
(14) Inspection of workpiece quality after processing
Second, the operation method of the processing center
1, before starting the machine, first check whether the lubricating oil is enough, the state of the machine tool is normal, and then open the power supply of the machine tool (open the power supply of the machine tool will be turned from the “Off” position to the “Reset” position, and then to the “ON” position), and then open the power switch of the control panel.
2. After starting the machine, first make the machine origin regression and the tool library back to zero. Before the origin regression, check the relative workpiece position of the tool is safe, and then determine how to origin regression (machine tool can be divided into axis in order to Return to Zero) choose Zero Return → according to Cycle Start healthy (machine tool origin regression); Select Arc Manual → press Magazing ZERO Return.
3, each workpiece to check in advance whether the processing program is ready, the tool is complete, intact, according to the requirements of the programmer to prepare the workpiece and fixture, clear clamping method (work surface to oil stone grinding flat).
4, when loading and unloading pieces to take lightly, as far as possible to reduce the workpiece friction on the workbench surface movement, forbid a corner of the workpiece as a support point in the machine tool workbench surface drag the workpiece (this will seriously scratch the machine tool workbench, affect the flatness of the machine table); Do not place sleeve, screw wrench, screw, glue hammer, whetstone, file and other tools on the workbench of the machine tool to prevent hitting the workbench of the machine tool.
5, when installing workpiece, if you want to use iron, should be in mat between machine tool working mesa and a certain thickness of copper (5 mm) in yards mat thin copper, between iron and work to prevent the machine tool working mesa and workpiece surface, using iron iron when must pay attention to the yard and fixed screw should be as low as possible, and the code rail should be on the workpiece processing range of a certain area, To avoid damage caused by impact of code iron on tool head and tool chuck.
6, the correction of the workpiece: for the processing of more spare copper blanks and pieces of blank, you can use a needle or gong knife to roughly find the workpiece coordinates (X, Y coordinates); For the workpiece shape as a reference requirement for accurate positioning of the workpiece (including CNC workpiece before turning the gong) is the application of Um table to find the workpiece coordinates, before using Um table to check whether the needle is flexible, whether it will be biased, whether there are traces of collision damage, such as damage should be immediately declared. Content of workpiece calibration: workpiece with reference plane, the reference plane should be corrected to the horizontal (or vertical); After dividing the four sides of the workpiece, it should be rechecked at least once to ensure the correct number.
7, set the workpiece coordinate system:
CNC has six workpiece coordinate system for setting (its code: G54 G55 G56 G57 G58 G59), each workpiece coordinate system can be used for 1 workpiece processing.
8, knife: in order to ensure that the tool chuck or cable head will not hit the iron and the workpiece, try to clip the tool shorter, if it is the cable head clamping tool, should check whether the tool installed skew. Use an air gun to blow clean the cutting, dust and water stains in the cable head.

